
Good images can really help improve your webpage. For basic web editing, there are 3 main things to take care of:
- Cropping: Remove parts of your image that don’t matter. Good images for web focus on the central topic and don’t contain a lot of clutter.
- Change brightness/contrast – Images taken from camera are often a little dull, and our sites in particular benefit from colorful images. Adding brightness and contrast often helps make the site look more bright and cheerful. However, the key to using these tools is not to overdo them – the image should not be too gaudy.
- Saving at the right size: If an image uploaded to the site straight from camera, it will take forever to load, and also will often be hard to upload. Web images should be less than 100kb and ideally should be saved at the same pixel width that it will be used in the site. If the image is to be floated to one side and the text will go around it, then it can be sized at 250-400px wide, if it is to be centred in the middle of the page to be then it is typically saved at 450-600px wide.
For best results, all the above should be taken care of before you upload the images to the site. Note that on many of our sites there are tools to crop and resize the image after you upload it, but the result is still much better if you do it before.
Tools to use
The best solution for editing is probably Photoshop, but that is pretty expensive. Good free options are Seashore (for mac) and Paint (for Windows), which is included with the necessary functions in Windows 7, but not in XP. A good online option is http://www.lunapic.com
We cover editing for all of these below.
1. Photoshop
- Crop: Use the select button (the dotted square), and then Image > Crop
- Brightness/Contrast: Image > Adjustments > Brightness and Contrast
- Resize and Save: Image > Image Size. To save, use Save for Web and Devices
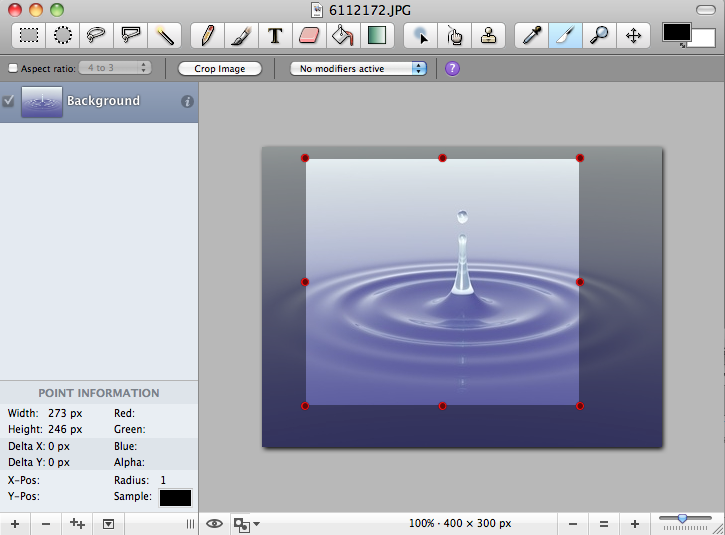
2. Seashore (for Mac)
Downloadable from http://seashore.sourceforge.net/The_Seashore_Project/About.html
- Crop: Press the crop button (the one that looks like a knife, see below). Select the area to crop and press Crop Image
- Brightness/Contrast: Selection > Color Adjust > Brightness and Contrast. Brightness doesn’t work so well for images containing a lot of light colours, so and more contrast.
- Resizing and saving: To resize – Image > Scale Image and select the width. To save File > Save as. Before you save, press the Options button. Generally you can take the compression down to 50% without significantly affecting the image quality.
3. Paint – a program of Windows 7 (Paint of Windows XP does not include the functions you need)
- Crop: Use the select buttom (the dotted square) on top left in the orange field, select the area to crop with your cursor and then press Crop beside the dotted square on the right to confirm.
- Resize and Save: Press Change size on top left beside the dotted square in the orange field. A new menu opens > select Pixel > type in the amount of pixels for horizontal or vertikal (vertikal or horizontal will be choosen automatically, when you type in one of these). To save click on the top right buttom below the Paint symbol > a menu opens where you choose Save as and then JPEG.
4. Lunapic.com
From http://www.lunapic.com you can upload image straight from front page.
- Crop image: Press the dotted rectangle button (the very first button on the top left). Then drag the cursor to highlight the cropped area and then press the crop button
- Resize: Edit > Resize image.
- Brightness/Contrast: > Brightness and Contrast are both available seperately under the Adjust menu
- Save: File > Save image. You can select lower or use set specific file size to get it under 100kb